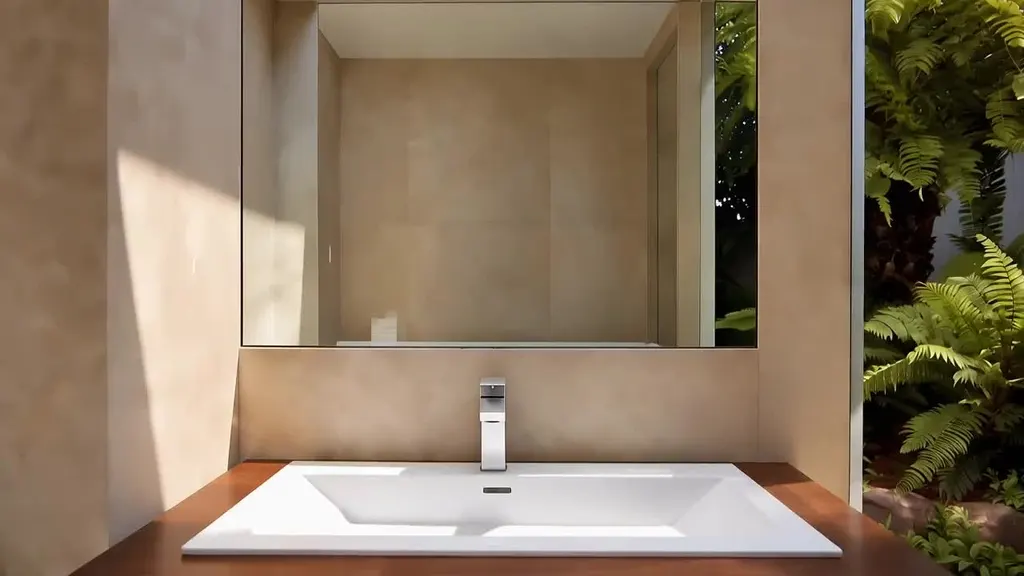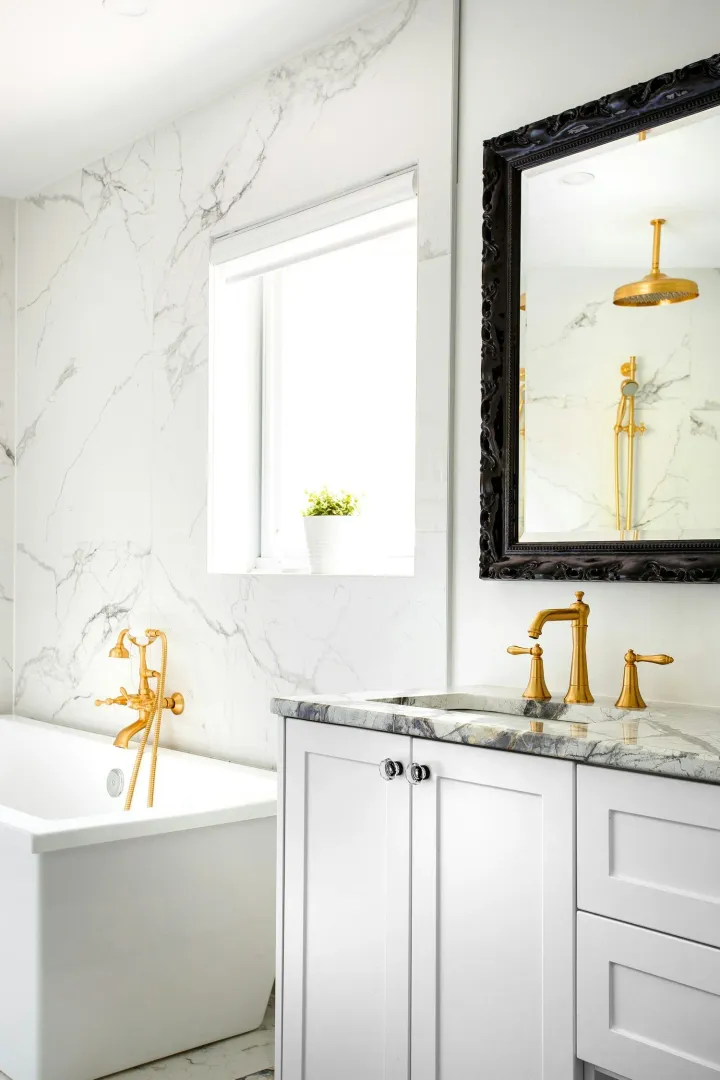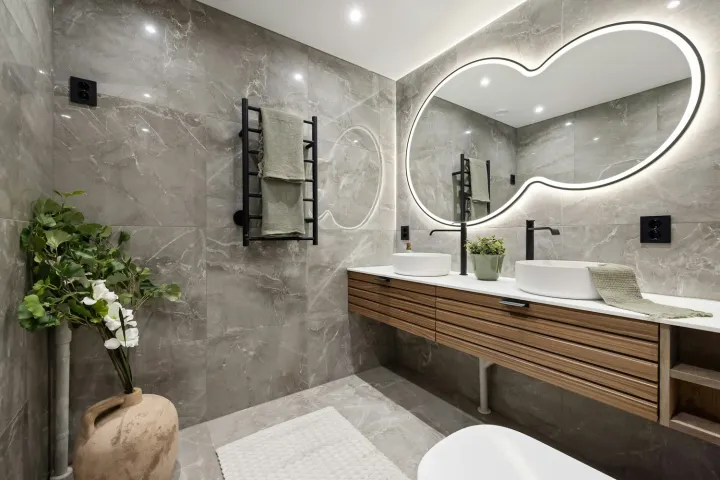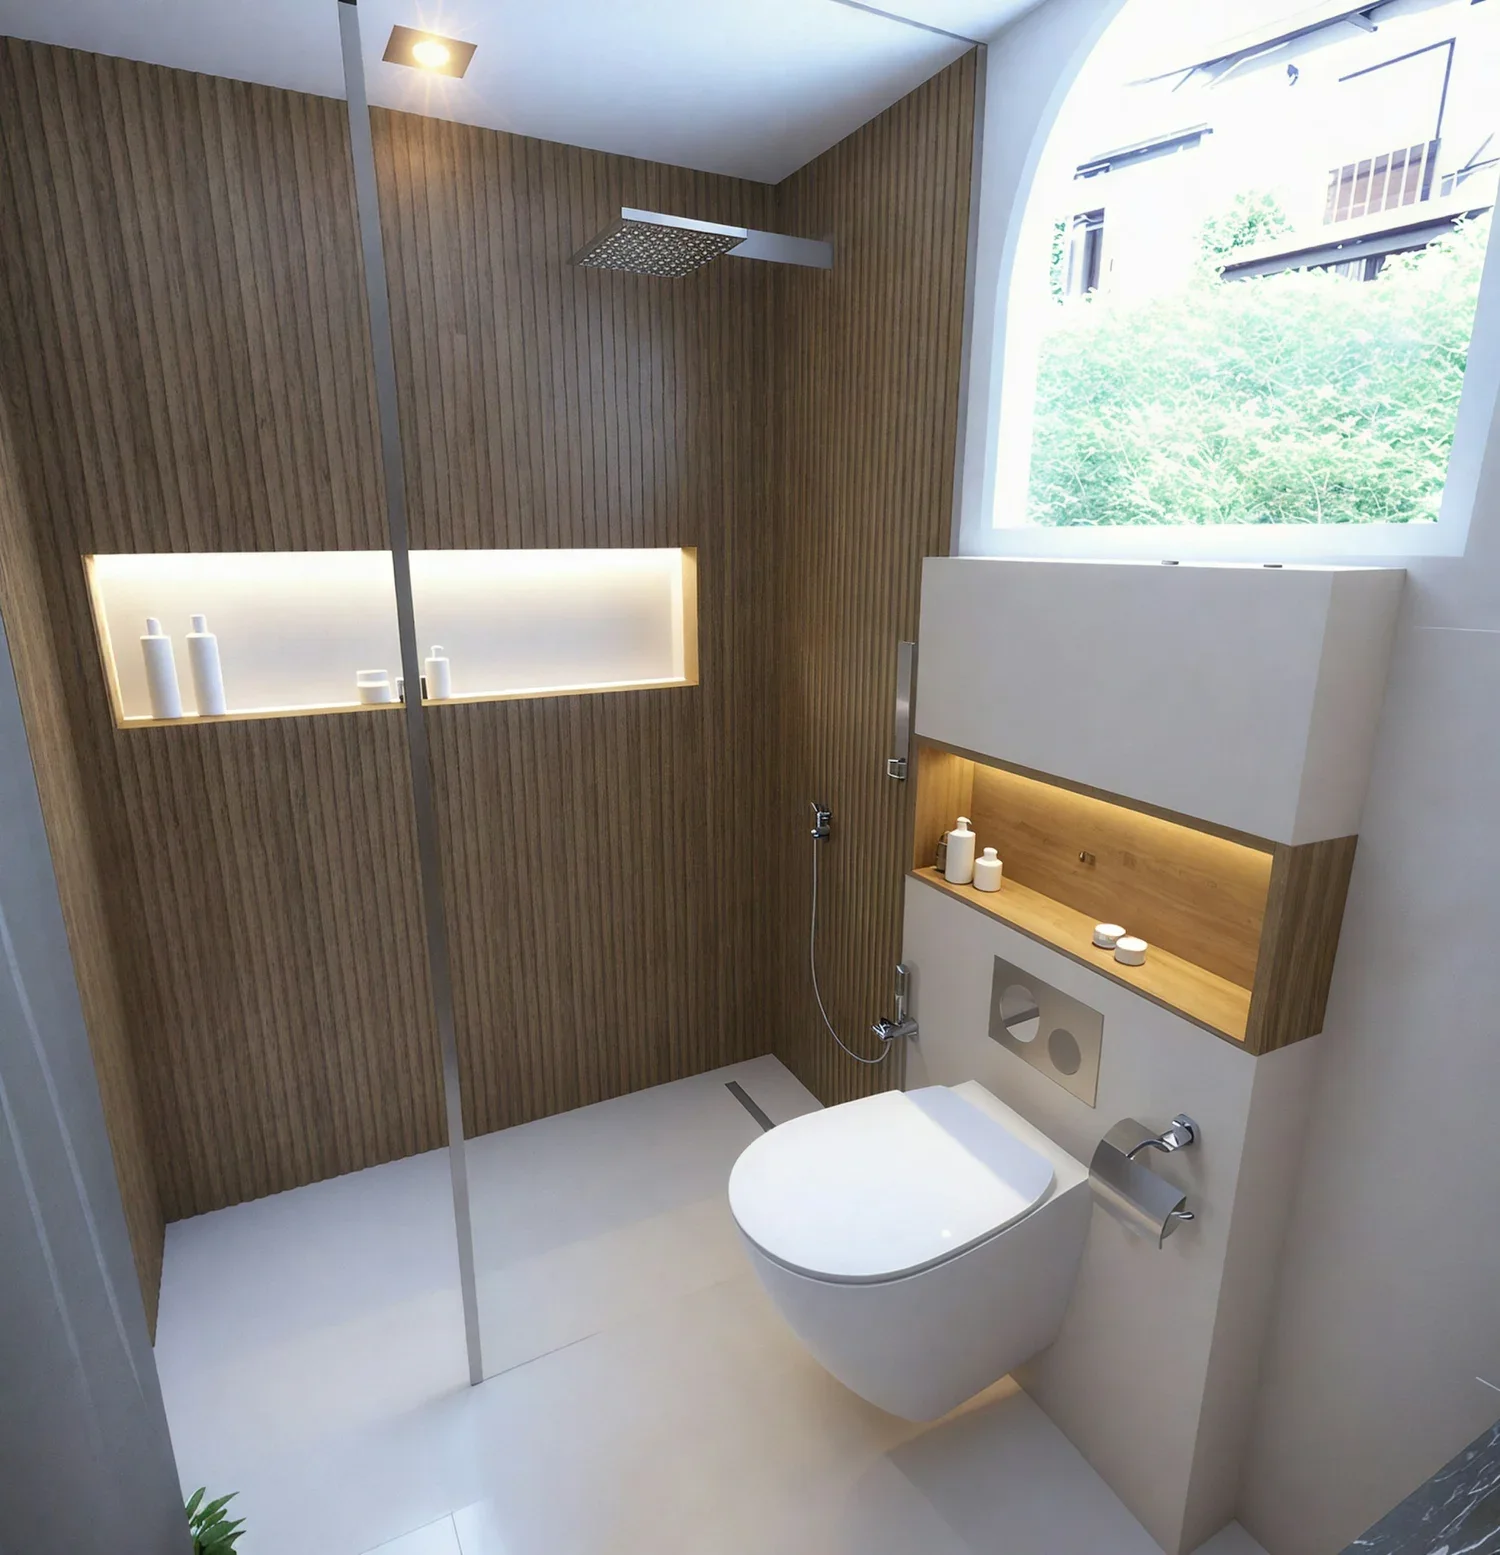
Tiles and wet wall panels are finishes within a wet-area system. Neither is automatically waterproof simply because water runs off its face.
The result depends on the selected product, substrate, joints, penetrations, perimeter details and installation method.
Compare complete documented systems—not a sheet price against a tile price.
Waterproofing sits behind the finish decision
The National Construction Code sets out wet-area requirements for waterproof and water-resistant building elements, shower areas, penetrations and floor wastes. A bathroom design must meet the applicable provisions regardless of whether the visible wall is tiled or panelled.
Some proprietary panel systems may form part of a compliant wall system when installed exactly as documented. Others are decorative linings installed over a separately prepared substrate. Ask the supplier to identify the complete tested or assessed system and the compliant installation pathway for the proposed use.
Do not accept “100% waterproof panel” as proof that corners, joins, fixings and penetrations are resolved.
What a tiled wall involves
A tiled wet-area wall can include framing, sheet substrate, waterproofing where required, adhesive, tiles, grout, sealant and movement joints.
Tiles provide a broad range of sizes, colours, textures and details. Individual tiles can sometimes be replaced, although matching an older batch may be difficult. The installation includes many joints and depends heavily on substrate preparation, set-out and trade workmanship.
Grout is a visible joint material and needs cleaning. It should not be treated as the waterproofing layer behind the tiles.
What a panelled wall involves
Wet wall panels are large-format sheets joined and sealed according to a proprietary system. Fewer visible joints can simplify cleaning and create a continuous appearance.
Panels vary significantly. Compare:
core and face material
sheet dimensions and weight
approved wet-area applications
substrate requirements
joiner, sealant and corner details
fixing method and adhesive
penetration details
fire, warranty and maintenance documentation
A generic panel description does not establish that a product is suitable inside a shower.
Joints and corners decide performance
Every system has joints. Tiles have grout and movement joints. Panels have sheet joints, profiles or sealed butt joints. Both meet taps, mixers, shower screens, niches, windows and the floor.
Draw these junctions before ordering. The NCC wet-area provisions specifically address penetrations in shower areas, including taps, shower fittings and mechanical fixings. A clean sheet face does not compensate for an improvised penetration.
Appearance and set-out
Tiles can create fine grids, large quiet fields, patterns or changes in texture. Their appearance depends on set-out, cuts and grout colour as much as the tile.
Panels can create broad surfaces with fewer lines, but sheet size determines where joins fall. Printed stone or tile effects need to be checked at full size for pattern repeat and alignment. Order representative samples and view installed examples of the exact product where possible.
Neither option is inherently premium. Detail quality and how the finish relates to the vanity, shower screen, floor and ceiling matter more than the category name.
Cleaning and maintenance
Panels may reduce the amount of grout, but sealant joints and surface finishes still require care. Tiles vary from smooth glazed surfaces to textured or porous products; grout selection and joint width affect cleaning.
Ask for the manufacturer’s approved cleaners and maintenance method. Check resistance to common bathroom products and whether abrasive cleaning can dull or scratch the face.
Mechanical ventilation remains necessary to manage room moisture. A lower-maintenance wall finish does not replace effective exhaust.
Repair and future change
An individual damaged tile may be replaceable if spare matching stock is available. A damaged panel can require replacement of a much larger sheet and removal of trims or adjacent fittings.
For both systems, repair can disturb waterproofing. Keep spare tiles or panel offcuts, product codes, batch information, sealant details and installation instructions with the handover records.
Consider future access to concealed plumbing. A wall that looks seamless may be expensive to reopen if valves or pipework cannot be reached from the opposite side.
Installation time is project-specific
Large sheets can cover an area quickly, but measuring, transporting, cutting around fixtures, preparing substrates and curing adhesives or sealants still take time. Tiling involves set-out, cuts, adhesive, grout and sealant stages.
The faster option depends on room geometry, product availability, substrate condition and installer experience. Compare written programmes for the complete system rather than assuming panels always remove trades or drying time.
Compare complete installed cost
Include:
substrate preparation and rectification
waterproofing system where required
finish material and wastage
adhesives, trims, grout and sealants
cutting and detailing around fixtures
specialist labour
delivery and access for large sheets
future repair and replacement implications
A cheap sheet or tile can belong to an expensive installation. A higher material price can sometimes reduce labour, but only a project-specific scope will show the result.
Evidence to request for panels
Exact product name and supplier.
Approved applications, including whether shower use is covered.
Installation manual and required substrate.
Evidence supporting compliance for the proposed system.
Corner, joint and penetration details.
Warranty, exclusions and installer requirements.
Care, repair and replacement instructions.
The practical decision
Choose tiles when their design range, local trade familiarity, repair scale and detailed appearance suit the room.
Choose panels when the exact documented system, large-format appearance, joint strategy and cleaning characteristics suit the room.
Reject either option if the supplier cannot explain the full substrate-to-surface assembly and how penetrations are sealed.
Where Bluestone fits
Bluestone evaluates the wall finish as part of the bathroom construction: substrate, waterproofing, plumbing penetrations, fixtures, installation sequence and handover documentation are coordinated together.
See Bluestone’s approach to complete bathroom renovations in Melbourne.